
Saturday, 25 March 2023
Thursday, 17 March 2022
Artful Tulips thank you card
I have been so lucky this week to get the opportunity to help create samples for one of Spellbinders NEW releases. Todays card is created using the Artful Tulips dies designed by the talented Vicky Papioannou.
I kept this card fairly clean and simple. As simple as I could... I don't do negative space very well you you will see very subtle stencilling in my white space. I kept the colours to purple tones to make the design simpler.. and because I shall send it to my friend who loves purple.
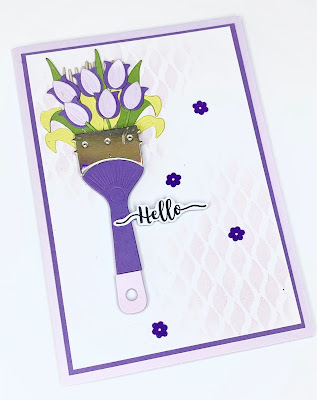
I think this turned out really pretty. I especially love how the dies also emboss, giving texture to the shapes. Also this one cuts each element separately so you can mix and match your colours.
These are available direct form Spellbinders... Sadly I wasn't fast enough setting up my affiliate account to have personal links.. Snooze ya loose but I'm thrilled to have been part of this new release.
Thanks for sharing this card with me have an outstanding day .
x Amanda
Tuesday, 15 March 2022
NEW release !!! Painted blooms card tutorial dies by Vicky Papaioannou f...
Wednesday, 16 February 2022
Altered playing cards #7steampunk weekly challenge

Monday, 14 February 2022
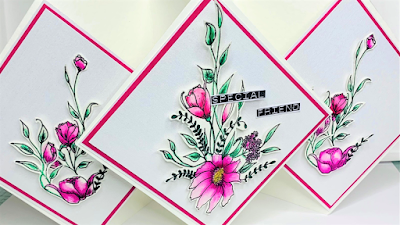
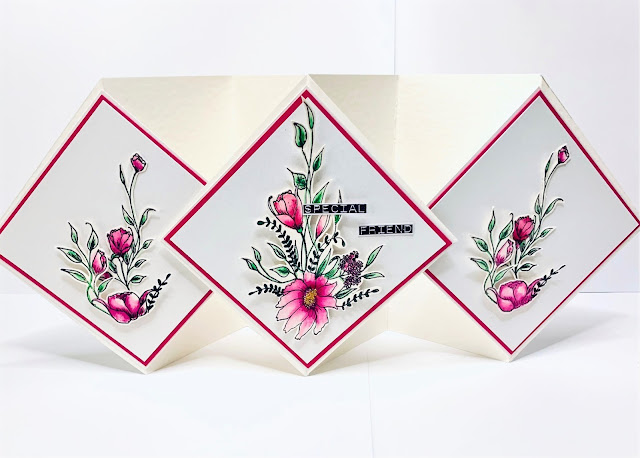
Triple floating diamond card
Triple floating diamond card tutorial.
Hey everyone today I am sharing what I think is a different kind of fold. I have searched and cannot find one exactly the same. I call this a triple floating diamond card easy to, make hard to photograph !
Wednesday, 9 February 2022
Altered playing cards #6love weekly challenge
Sunday, 6 February 2022
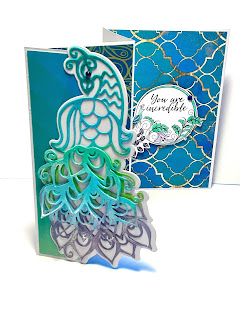
Peacock Plumes Diamond fold tips and tricks tutorial

Measurements
Thursday, 3 February 2022
Peacock plumes concertina fold tutorial


Card measurements
Wednesday, 2 February 2022
Altered playing cards #5 flowers weekly challenge
Sunday, 30 January 2022
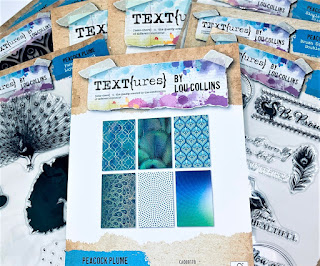
DISCOUNT CODE + Peacock Plumes collection share
Saturday, 29 January 2022
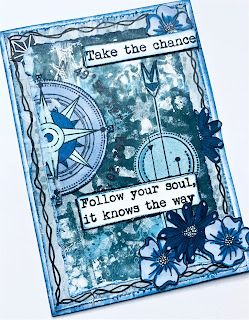
Mixed media card inspiration
Happy Saturday
I LOVE my Saturdays I have the laziest day and try take stock of my week and just rest.
Yesterday I shared quite a lengthy video, link is below. It's in two halves so you can skip bits or run it on x2 speed. I gave a quick share of the cards I made using the Papercraft Society kit and a fab mixed media card tutorial.
Here are some of the backgrounds I achieved.. Like many I am still learning with this fun product.
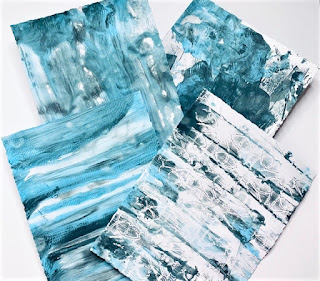
I love how each print is unique. I use these far card backgrounds these turn a meh card to a wow piece of art card.
Friday, 28 January 2022
Scrimpingmommy is back and with Papercraft Society goodies to share !
Hello Hello
How fantastic to be back in blog land and with a big bang too. I have some fabulous cards to share all thanks to the Papercraft Society. I was sent the Papercraft Society January kit box by Craft stash UK to see what I thought. I'm going to share a un opening video link at the bottom of this page.
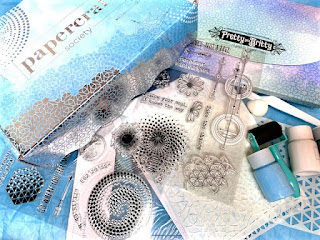
So here is what the box and contents looked like when I opened them and oh my goodness I was bowled over with the contents you can see the full list by clicking here. I can say I was a tad excited when I saw just how much is in there !
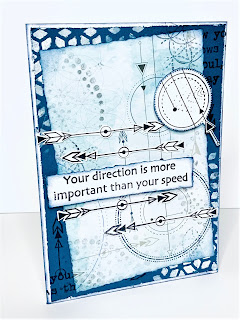
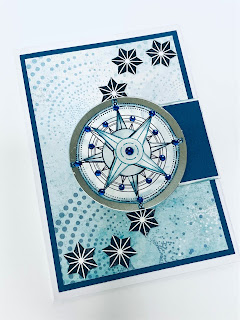
So I couldn't wait to dive in and quickly and easily created two cards right away. I'm sharing these here today and as I create more I will continue to share here and on my Pinterest board follow that via this blue link.
So here are my cards I hope you love them as much as I enjoyed creating them.
Thursday, 12 November 2020
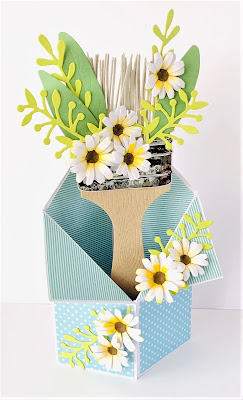
Luxury box for 4 x 4 cards
After creating my large box for C6 cards i decided to reduce the measurements to create a smaller version for 4 x 4 cards. Using the stunning Snowflake splendour papers and Highland heather card I love the alternative Christmas colours in this project.

I have a full step by step tutorial for you to follow and will leave all the measurements below so you can create this pretty box with ease.
MEASUREMENTS
Monday, 9 November 2020
LARGE luxury C6 card box
