Pages

Showing posts with label Stampin' Blends. Show all posts

Monday, 29 October 2018

Vellum panel card with gift inside.

I am especially proud of this project as I think it turned out just beautiful. When I started I was simply colouring panels of the Graceful Glass DSP with my Stampin' Blends...I had no Idea at that stage what I would make with them.

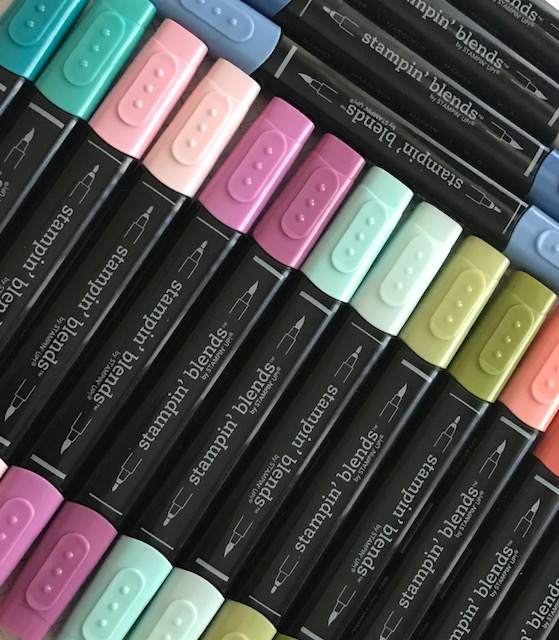
I honestly believe the Stampin' Blends and vellum are a match made in heaven it is so super easy to colour on this type of medium and the colours blend beautifully. The colour lifting pen works especially well giving a great appearance of light to the flowers in the panels.

So we basically have a gatefold card with two of my coloured panels on each front section. My other two panels I turned into beautiful bookmarks. These are stored inside the card in a purpose made pocket... a card and gift in one .

I really do hope you will give this project a try it really is so easy yet the results look superb. I do have a fun process Tutorial for you to follow over on my youtube. If you re on a mobile device click this link to view the tutorial https://youtu.be/5rkxL54wS4E . If your on a PC you should be able to see the full Youtube link below. I have also left you the measurements and a list of products I used . If you wish to purchase any simply click one of the product photos to visit my online shop ... easy peasy. So go grab a brew get comfy and enjoy the video.

Happy stamping xxx Amanda


Measurements

Card base 8 x 6" score at 2 and 6" fold small sections to form a gatefold card.
DSP coloured panels measure 1 1/2" x 5 1/2"
White card layer for DSP panels 1 3/4 x 5 3/4"
Blushing bride layer for book marks 1 7/8 x 5 78"
Bookmark pocket cut to 4 1/2" x 2 1/4" score on two short sides and one long side at 1/4" ... form pocket as per video tutorial .

Product List

Friday, 26 January 2018

Stampin' Blends put to the test


The new Stampin' Blends seem to have been a huge hit. I have personally sold a fair few sets via my Stampin' Blends club. So what can we actually do with them ? I wanted to see if we could do more than simply colour stamped images with them, so along with the help of my lovely helper Alexia we set about testing the pens on different surfaces. Our results may not surprise many, but for those new to these type of markers, or indeed Stampin' Up! as a whole, this is a handy insight.

So first off we stamped images on both weights of Stampin' Up! Whisper white card stock, and using both types of black ink available, Archival basic Black and Memento black. I was honestly surprised at the results. Our findings were that the black ink used... in our instance of testing... made no difference. There was no smudging or bleeding outside the lines on either. The weight of card stock used also ... during our testing... made no difference.
We also tested the pens on glimmer paper, with great results. Showing you can have glimmer paper to match your Stampin' Up! colour scheme, well fitting within the colours we have so far of the pens anyhow. Lets cross our fingers that Stampin' Up! give us a full colour range... HINT HINT Stampin' Up! !!
I was real keen to try the pens on other substances than JUST card and so we also tested the pens on basic Rhinestones, faceted gems and basic pearls, all with perfect results. Once left to dry they are colour fast. I think the pearls are my favourite result, and again this widens our colour matching potential.
 

I also wanted to try the pens on metal, wood and resin pieces to see if they gave good results. In all three instances results were fantastic. This excites me as I can get my non Stampin' Up! embellishments in my craft hoard to match my Stampin' Up! colours.
 
Alexia and I really enjoyed putting the Stampin' Blends to the test. I think we showed that they are definitely great for more than JUST colouring stamped images and can widen our colour matching potential with our embellishments and different types of card stock such as glimmer paper. This is fantastic as it means there is no reason not to incorporate our non Stampin' Up! crafty bits and bobs in our Stampin' Up! projects and get that great colour co-ordination which makes Stampin' Up! so great.

Don't forget you can shop Stampin' Up! with me HERE or join my team here 

I do have a full fun and off the cuff Youtube tutorial showing our findings when testing the Stampin' Blends. So grab a brew, get comfy and enjoy the video.

Happy stamping xxx Amanda and Alexia


Product List

Thursday, 11 January 2018

Hand coloured congratulations card


I like to keep my team inspired so every week I hunt for a card or sketch for them to follow. This weeks was one I simply selected at random from Pinterest. Pinterest is a fantastic resource for us to use to grab ideas to keep our creative Juices flowing. I do advise taking just a glimmer of inspiration but not directly copying...that's too easy. So here is my card from the one I found. The original one is here and a beautiful card...
I created mine using falling flowers stamp set which I totally adore, and combined with the Sale-A-Bration freebie thinlits celebrate you. I actualy made my card using up left overs on my desk cut for other projects then not needed. A practice I try to do regularly to save build up of those dreaded scraps !

I am not the best at colouring using alcohol markers, its early days for me I am still learning, but I think they give brilliant results even for a novice like me.The alcohol pens come in a full set or you can buy individuals or duo's . I advise buying in duos as then you get the light and dark shade together. The colour lifter/ blend pen is an essential it really makes your work look seamless.

I hope you enjoy this card , remember Pinterest is a fantastic resource, you can find all my work on there too. Just click the P icon ion my right tool bar and then click follow so you dont ever miss any of my projects and also other things I collect on my boards.

happy stamping xx Amanda

Product List